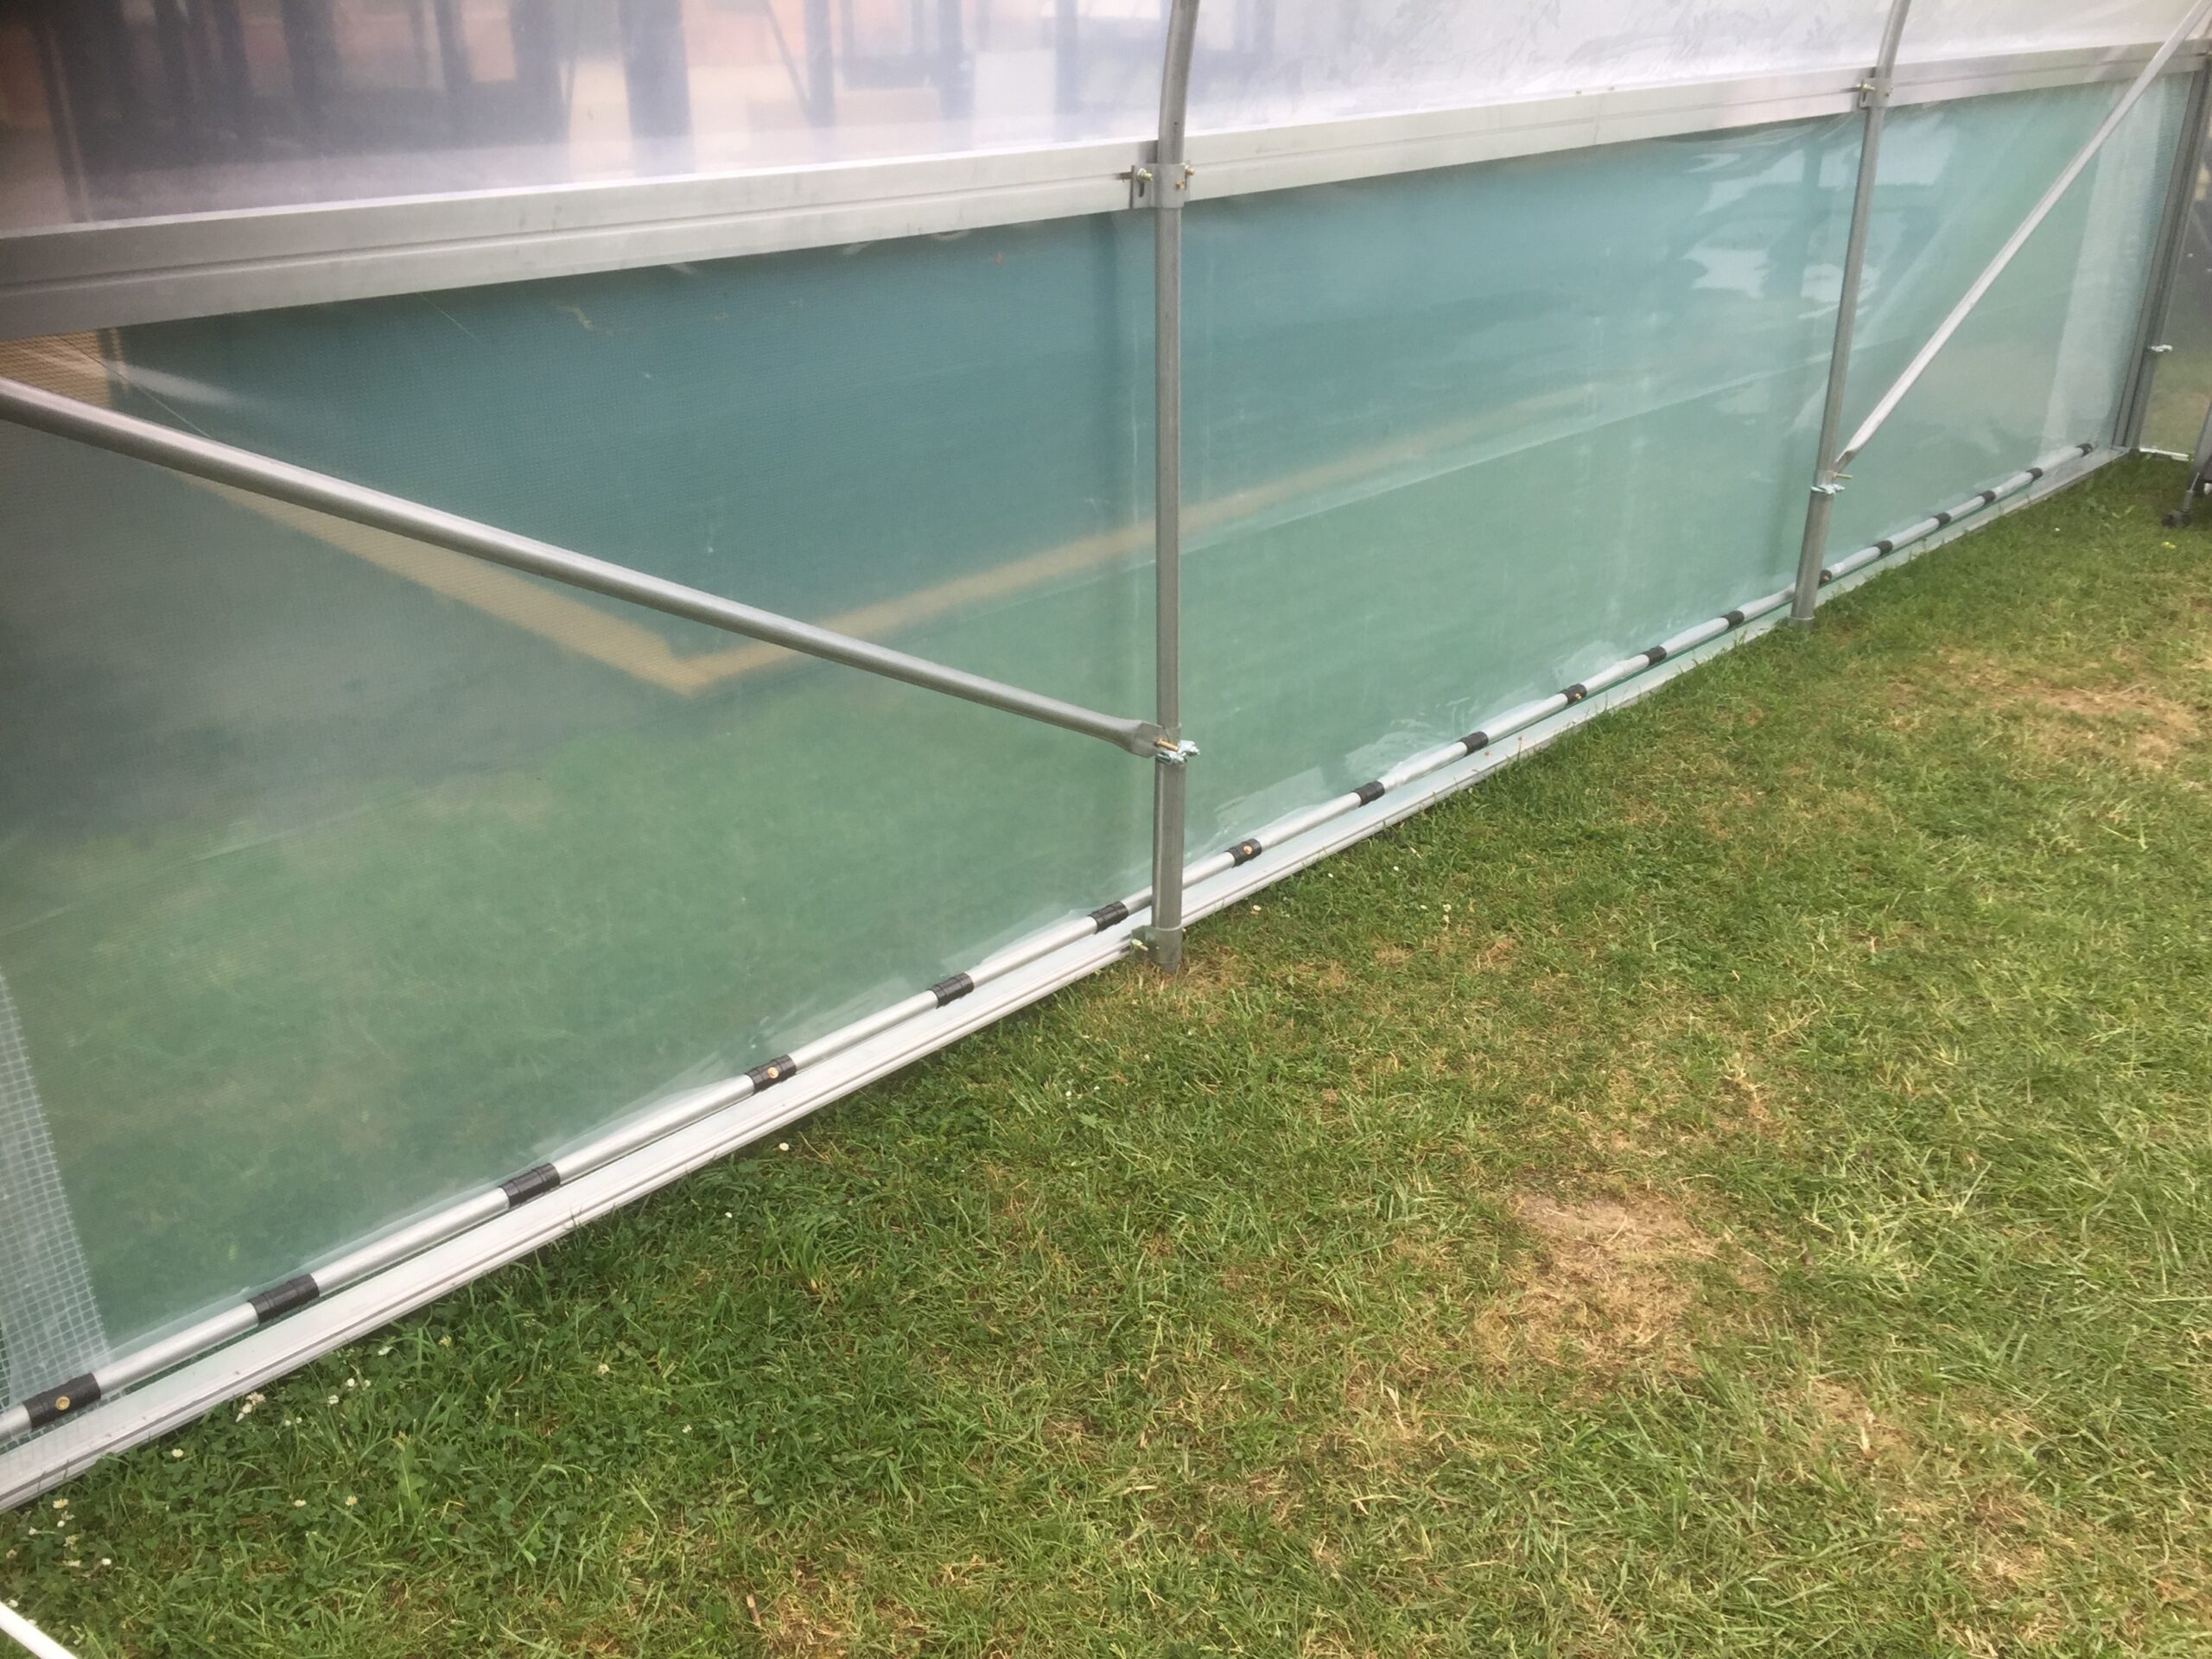
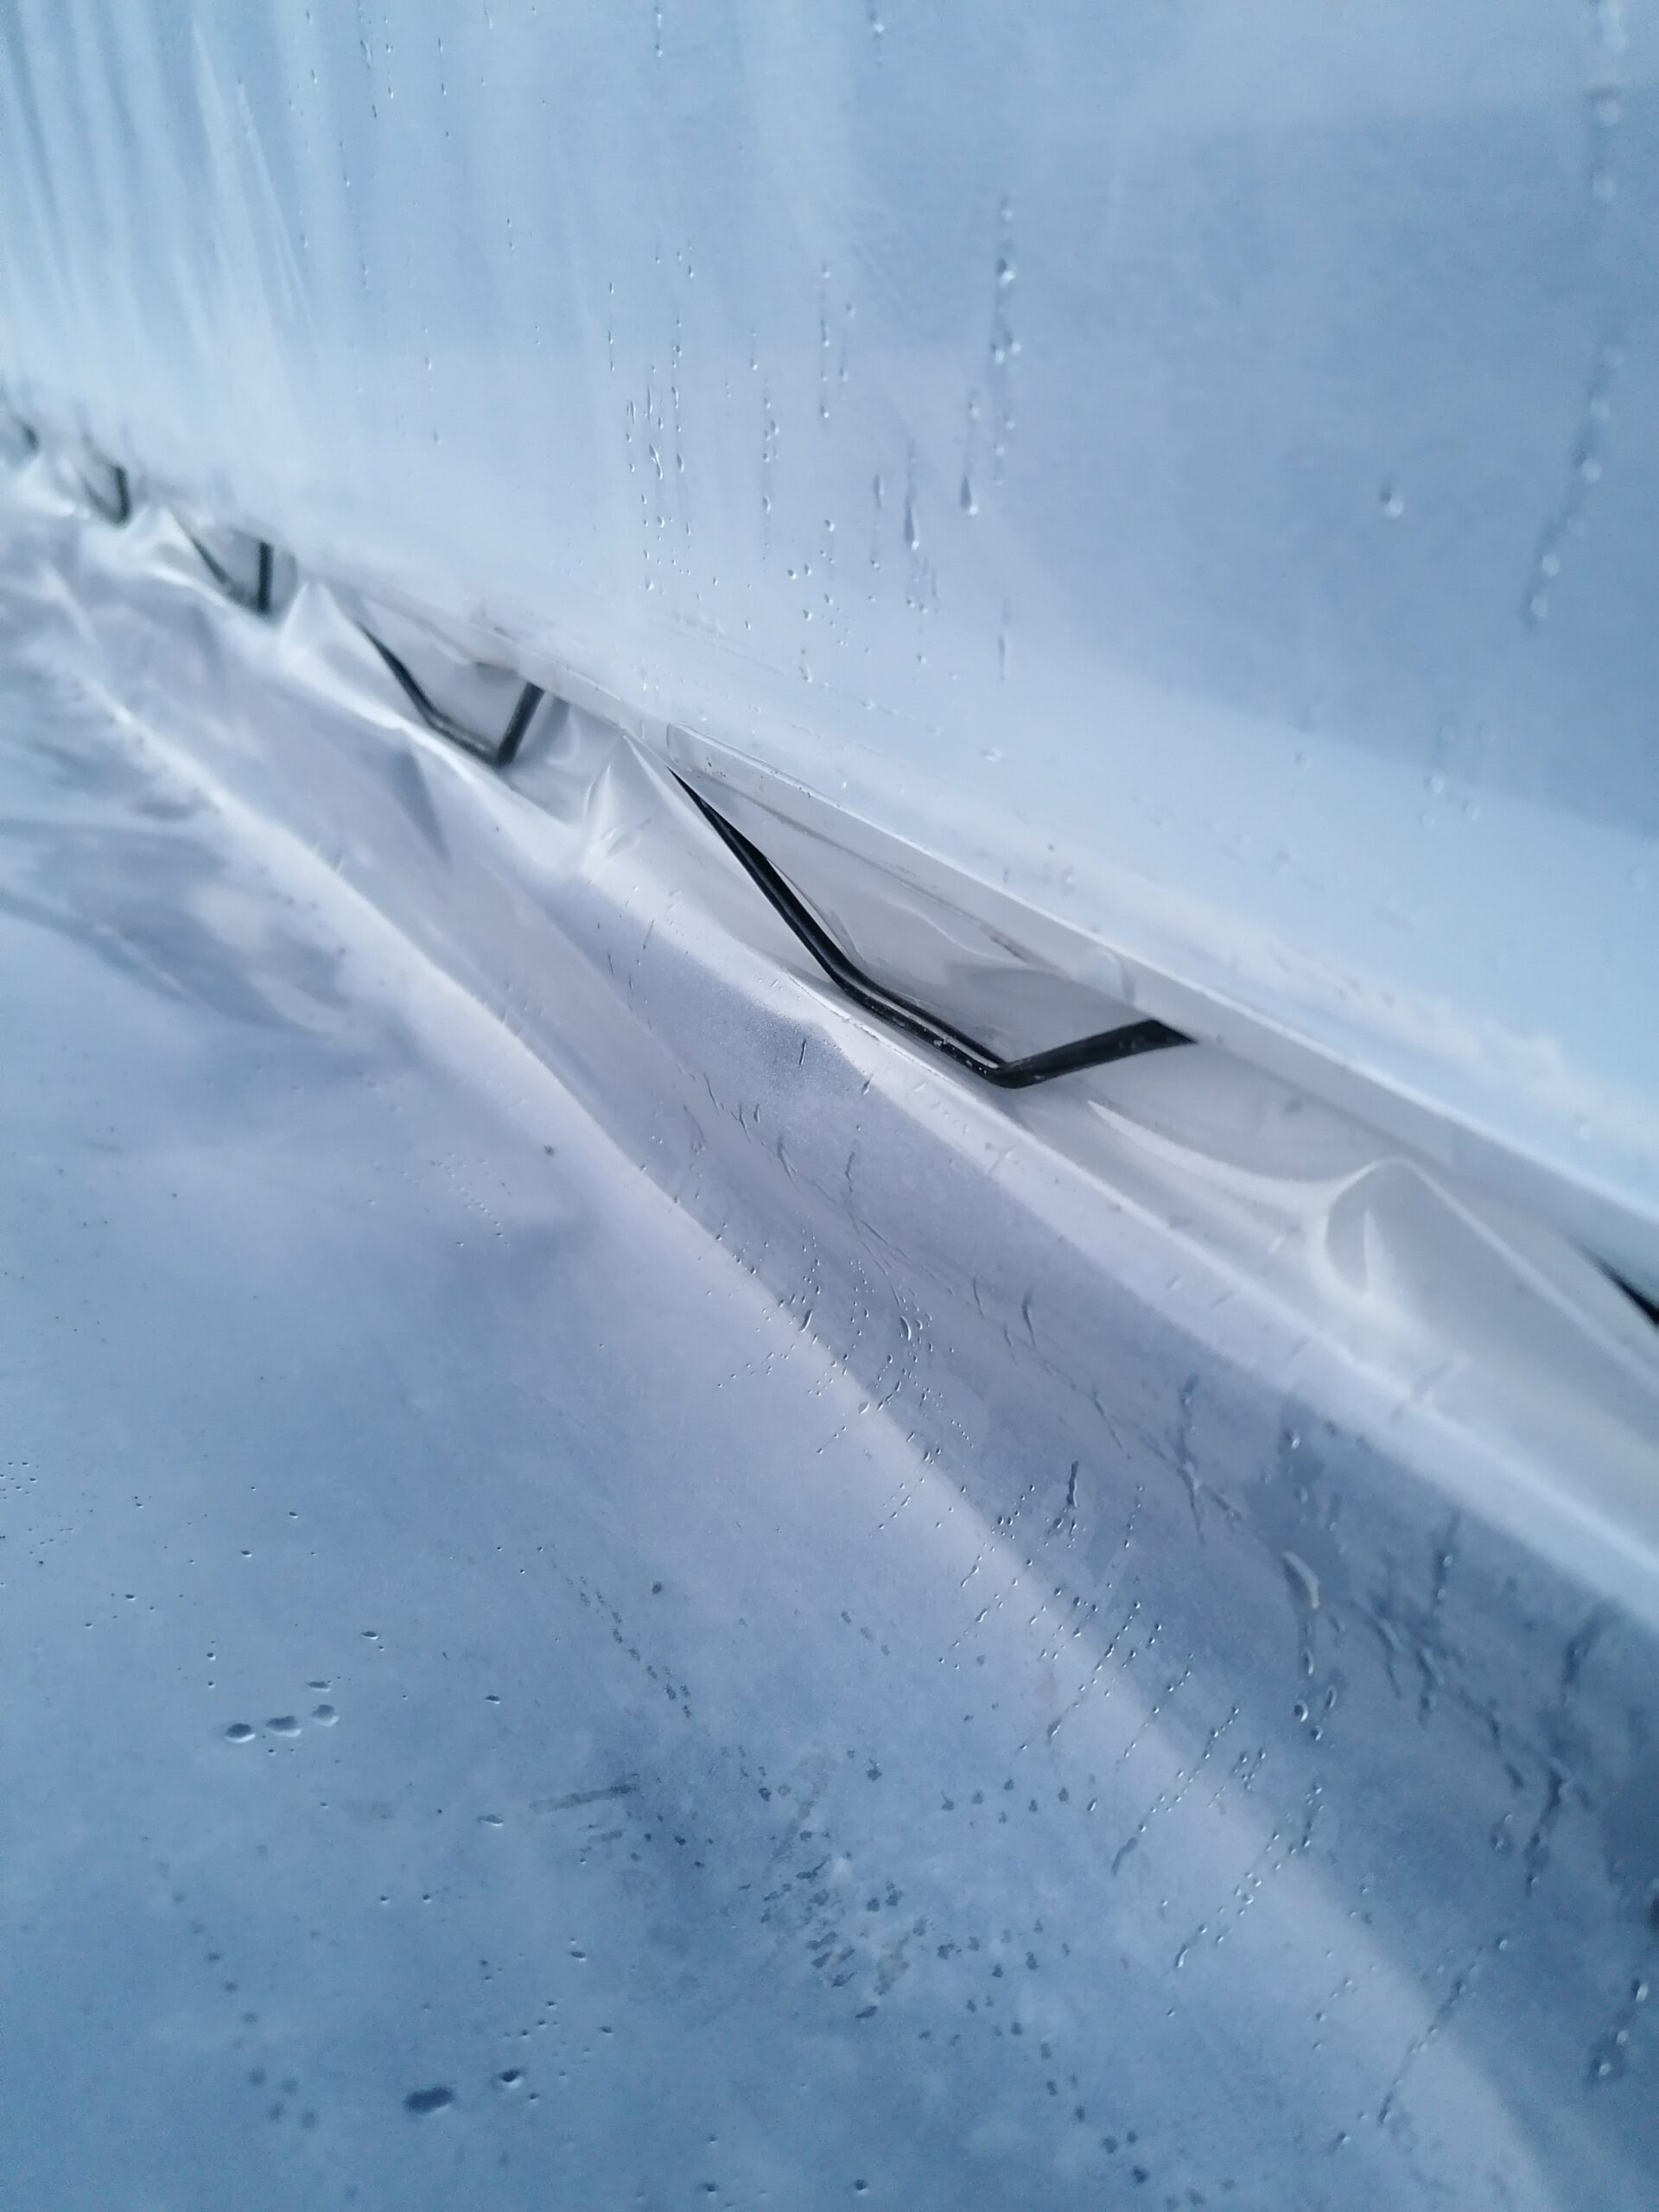
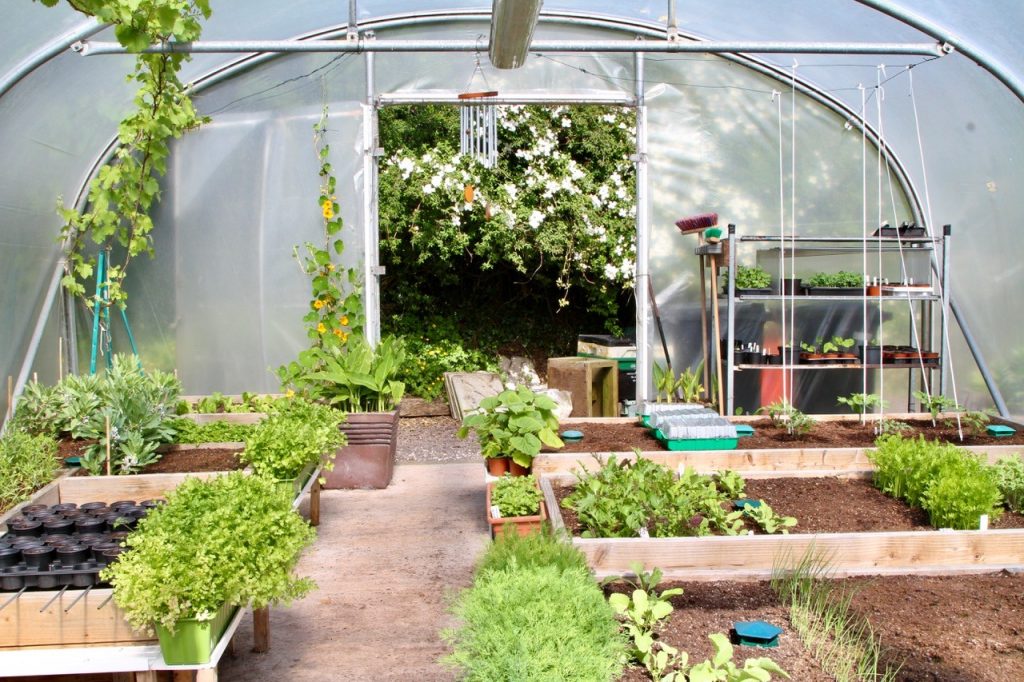
A recent construction we did in Dublin was a 4.5m x 8m Polytunnel. This Polytunnel had ‘side purlins’ fitted which are an optional extra providing extra strength particularly against wind. The customer also ordered a large number of raised beds which we also supply. This Polyunnel also has the optional attractive finish of having the ends of the tunnel without pleating and folding the polythene. This feature is made possible by having an aluminium rail fitted over the end hoop so that a separate cover can be fitted to the gable end (and fixed into the rail over the end hoop as is the polythene on the roof).
We are pleased to configure our Tunnels to suit each customer from a wide range of options.
A Polydome customer asked recently: “What books are available on using greenhouses?” Since you need to know how to get the best from the greenhouse you buy, it’s worth checking out. And it’s good to read up on crops and techniques you haven’t tried yet.
One of the best-selling books is Dr. D. G. Hessayon’s The Greenhouse Expert. One of a large series of titles on gardening, it is widely stocked in bookshops and garden centres and normally not too expensive. It is well laid out, and the comprehensive index at the back allows you find whatever information you need quickly and easily. Ornamental and flowering plants are covered in detail and vegetables and fruit in less detail. On the debit side, it is geared almost exclusively to glasshouse gardening with only a nod to polytunnel use.
For polytunnels you might try The Polytunnel Book by Joyce Russell (published by Frances Lincoln). It is well laid out and illustrated, and highly practical, with a good but slightly complicated index. Subtitled fruit and vegetables all year round it does what it says on the cover. Flowering and ornamental plants don’t figure at all.
Many more titles are available in bookshops. Bear in mind that books published for the United States market relate to climates often very different from ours, and quote figures in inches and pounds.
There’s nothing like browsing bookshelves and seeing a book’s contents before you buy, but you could try online sites such as the Royal Horticultural Society’s bookshop at http://www.rhsshop.co.uk/category.aspx?id=10000100 or the likes of Amazon at http://www.amazon.com/s/ref=nb_sb_noss_1/177-7057071-0199916?url=search-alias%3Daps&field-keywords=greenhouse+books , or type ‘greenhouse books’ into a search engine.
Greenhouse users (both Polytunnel and Glasshouse) need to know what the temperature was when they weren’t around to check it. Did it get too hot yesterday afternoon, stressing the plants and stopping the lettuce seeds from germinating? Did it get too cold last night, and should I have closed the vents a bit more? Did I overheat the greenhouse last night? A maximum and minimum recording thermometer will answer those questions. Both digital and traditional analogue types are available. Analogue types are generally cheaper and simpler to use, and need no power source. Instead of a single tube and bulb with mercury or coloured alcohol, they have a U-shaped tube with a bulb at each end and a column of mercury in the middle. A temperature change pushes the mercury down one arm and up the other. The mercury pushes a floating pin along each tube as it moves and leaves it behind when it moves back, showing how far it went since you last reset it. The thermometer is reset by tipping it up on end or pulling the pins back with a small magnet. Digital models are reset by pushing buttons as per the user’s manual. For best results place the thermometer or its digital sensor at the level of the plants and shade it from direct sun, which overheats it and gives a false high reading.
We have issued a new price list for our Polytunnels. This gives updated prices of Polytunnel kits including delivery to most parts of Ireland. The new Polytunnel price list can be accessed on the following link.
As the days get shorter and cooler, greenhouse plants need less and less water. If you go on giving them as much water as in summertime, problems will build up.
Firstly, the plants may continue to grow soft young shoots that will be susceptible to frosts and disease, instead of slowing down their growth-rate and hardening up their stems for the winter.
Secondly, the dampness caused by all the watering will encourage the fungus growth that causes leaf moulds and root rots. This is made worse by the lack of sun to dry off plant and soil surfaces quickly after watering.
Thirdly, the excess water unused by the roots as it drains down through the soil dissolves essential plant nutrients out of the soil and carries them down beyond the roots’ reach. This process is called leaching (sometimes misspelled ‘leeching’, which is an entirely different thing).
Fourthly, you are wasting water.
What can you do? If you are using a watering computer set it to water less often, for example every fifth day instead of every third. The soil surface can dry off longer between waterings. You could also set it to run for a shorter time. Water in the early morning, so that leaves and soil can dry off before night, when humidity rises as the temperature falls. Instead of spraying with a hose use a can to apply water to the bases of plants without splashing their leaves and wetting the soil between them. Ventilate the greenhouse as often as you can.
Check pot plants by touching the compost surface with a dry finger: if it is damp enough it will feel cool and compost particles will stick to your fingertip. Give little or no water until next time.
We are delighted to announce we have moved into our new state of the art office. The office is a converted stone barn that has been radically renovated to include geothermal under floor heating, insulation to virtually passive standards, heat recovery and a lovely open bright feel to it. We will have an official opening in the spring. At the moment we are in the process of settling in but of course are open for Glasshouses and Polytunnel sales, visitors are most welcome. In due course we will have a showroom in the office for Greenhouse Accessories to complement our display area which has currently 24 structures (Greenhouses and Polytunnels) on show.
De-leafing is one of the tasks that beginners to tomato-growing have to learn. It’s a simple task, and knowing why you need to do it makes it easier still. Basically, you take the lowest leaves off single-stemmed vine tomato plants as they grow upwards. It’s harder and less profitable to do it on bush-type plants with their smaller leaves and tangled growth habit, so just cut out any dead or diseased bits and otherwise leave them alone.
Only the leaves on the top 75 centimetres of vine tomatoes contribute to their growth and yield: the rest are passengers using up feed and water. The lowest leaves are the oldest, most tired and shaded ones that contribute nothing. They are magnets for fungus diseases such as Botrytis (grey mould), and increase the risk of infection of ripening tomatoes by trapping damp stagnant air around them. They can hide weeds and slugs that make things worse again.
There are two ways of de-leafing. In the morning, when plants are still pumped up with water drawn up during the night, the leaf stem will snap off cleanly if bent sharply upwards at the base. The neat wound left behind will be dry and resistant to fungal infection by nightfall. The easiest way to break off leaves is to place your fingers behind the main stem opposite the leaf, and your thumb on the leaf stem about two centimetres above the base, then pull in your thumb smartly towards the main stem to break it inwards. If it hangs on to the stem by a bit at the top snap it downwards to finish the job. Cutting works too, but the stubs that you leave behind can rot and infect the main stem. Compost the leaves, and wash your hands thoroughly.
Winter greens
You could pull out the last of your summer crops from your greenhouse, clean it up for the winter and close it until spring. But why not have it produce fresh green salads for you all winter? If you didn’t sow any leaf greens in recent weeks you can still sow turnip seed in early November and expect the soil to be still warm enough for some growth. It will grow slower than would September-sown crops but still be worthwhile.
Failing that, you can plant roots of turnip and beetroot in pots or the greenhouse soil and let them sprout leaves as if it were next spring. The leaves might not be as good eating as the seedling ones but will be better than nothing. The roots may need some frost to trigger this re-growth. Watch out for slugs.
Chicory has traditionally been grown for forcing in winter. Dig up straight roots about 2cm thick, cut the leaves back to about 2cm high and shorten the roots to about 15cm. Store them flat in sand in a cool shed. Every few weeks, plant a half-dozen or so roots upright and tight together in a medium pot of damp compost, placing it in a shady part of the glasshouse and covering over the top with an upturned pot (cover the drainage holes) to exclude light. Darkness makes the emerging leaves paler and less bitter. Cut them for eating when about 15cm high.
Rhubarb roots can be forced too. Dig up crowns and leave them exposed to frost. Then pack them tightly into a container with old compost, leaving them upright. Put it in a shady part of the greenhouse covered with black plastic. Harvest the sticks when still small and dump the exhausted roots afterwards.
Storms can do a lot of damage to polytunnels and glasshouses. Wind-pressure increases with about the square of its speed, so doubling windspeed quadruples its force. But there’s plenty you can do to prevent it.
Buy the strongest-framed structure you can afford. Secure it well into the ground, following the supplier’s instructions for your conditions. Be careful where you place it; solid walls or buildings nearby can increase windspeed and cause damaging turbulence.
Check the cladding. Polythene should be secure at the sides and around doors and vents, and any holes or tears cleaned with isopropanol, dried and taped inside and out with clear cold shock resistant repair tape. Secure loose glasshouse panes and replace cracked or broken ones and missing or displaced glazing clips (you did keep those spare clips, didn’t you?). If glazing clips slide hold them in place with silicone mastic. Tighten loose bolts.
Store away any empty pots, buckets and bins that a storm could pick up and hurl through the greenhouse. Close and secure all doors and windows when a storm is brewing.
If you do have storm damage, stay away until the wind abates to avoid injury. Check all cladding, doors and vents again, and do repairs as soon as possible before the next storm. A damaged greenhouse is more prone to further damage, as any opening lets in the wind to burst it like a balloon. Keep glasshouse assembly instructions for reference if they have the pane sizes, and consider keeping pre-cut spare panes in store if replacement glass is hard to get quickly.
Shelter (hedges, plastic webbing etc.) should be partly permeable to filter and slow down the wind, not block it and cause damaging eddies. If shading is a problem, shelter works nearly as well behind a greenhouse as in front.