Crop Protection

March- Propagation time!

It’s March and high time to start some seeds! Here are a few tips for success.

1)Unless you are sowing directly into the soil, having a bench that is the correct height is a must. This saves your back and also allows you better precision when sowing tiny seeds that are difficult to see.

2) Next, follow the instructions on the packet. Not all seeds are sown in the same way.

3) There are several factors involved in triggering a seed to germinate. These include light, temperature and moisture. At this time of year, the temperature is too low for certain seeds, so using a heating mat or heating cables in sand can speed up germination, resulting in a stronger plant.

4) It is a good idea to label everything clearly as you go along. This can avoid confusion later on when the little darlings start to emerge and you don’t know who is who! It is also a good idea to record when and what you sow in a notebook or diary for future reference.

5) A seed is a tiny miracle that contains everything it needs for life. However, once the outer coat has been broken down, the emerging seedling is very vulnerable until it has formed sufficient root to acquire moisture and nutrition for itself. At this stage it is vital that it isn’t allowed to dry out. Here are some ways to ease your seedlings through this delicate stage:

*Pre-water the growing medium well.

*Partially cover seed trays with polythene or glass (allowing some air flow) to retain moisture.

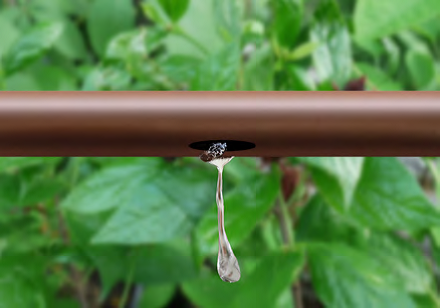
*Gentler forms of watering such as using a watering can with a rose, overhead irrigation, drip lines or capillary matting are preferable to using a garden hose on young plants. (Of course, the more vigorous plants like peas and beans will withstand much more than a delicate cactus seedling.) 

6) Did you know that keeping your young plants up on shelving isn’t just for convenience? It also serves to protect them from pesky mollusks. Yes, slugs and snails. They love damp, dark corners to hide in during the day, saving their energy to come out and graze all night. So, keep your root babies as far away from them as you can!

Best of luck to everyone who is setting out to sow seeds for the first time or the 50th time!

February- Is it Spring yet?

As the days start to get longer, a new season is here and signs of life are starting to appear all around us. The sight of snowdrops and daffodils remind us that the years march on regardless of what else is happening in the world around us.

On beautiful days when the sun gives that early spring glow we can feel that the year has turned and are tempted to sow something. The reality is, though, that we can still have plenty of wintery weather ahead of us at this stage and it is too early to start anything without protection.

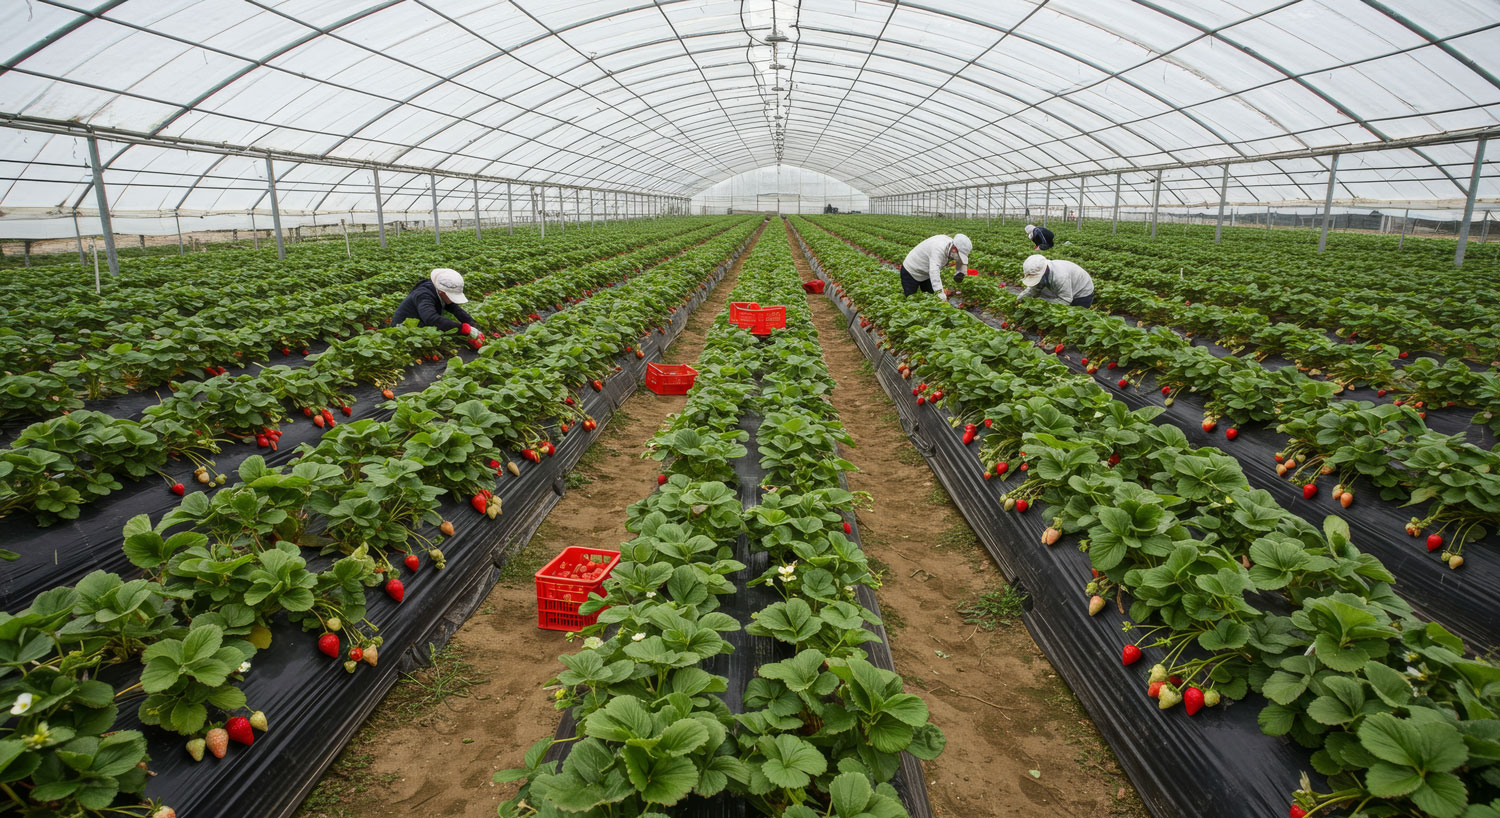
This is the time of year where a polytunnel really shines. As the sun comes out, there is a bit more heat and gentle growth in your greenhouse. With a heated seed bed, you can begin to start your tomatoes, peppers, lobelia, lettuce, onion or pea plants. If you are into bedding plants, you can start lobelia, salvia or sweet pea. Electric heaters or frost protection fleece will help protect your young seedlings from the elements even further.

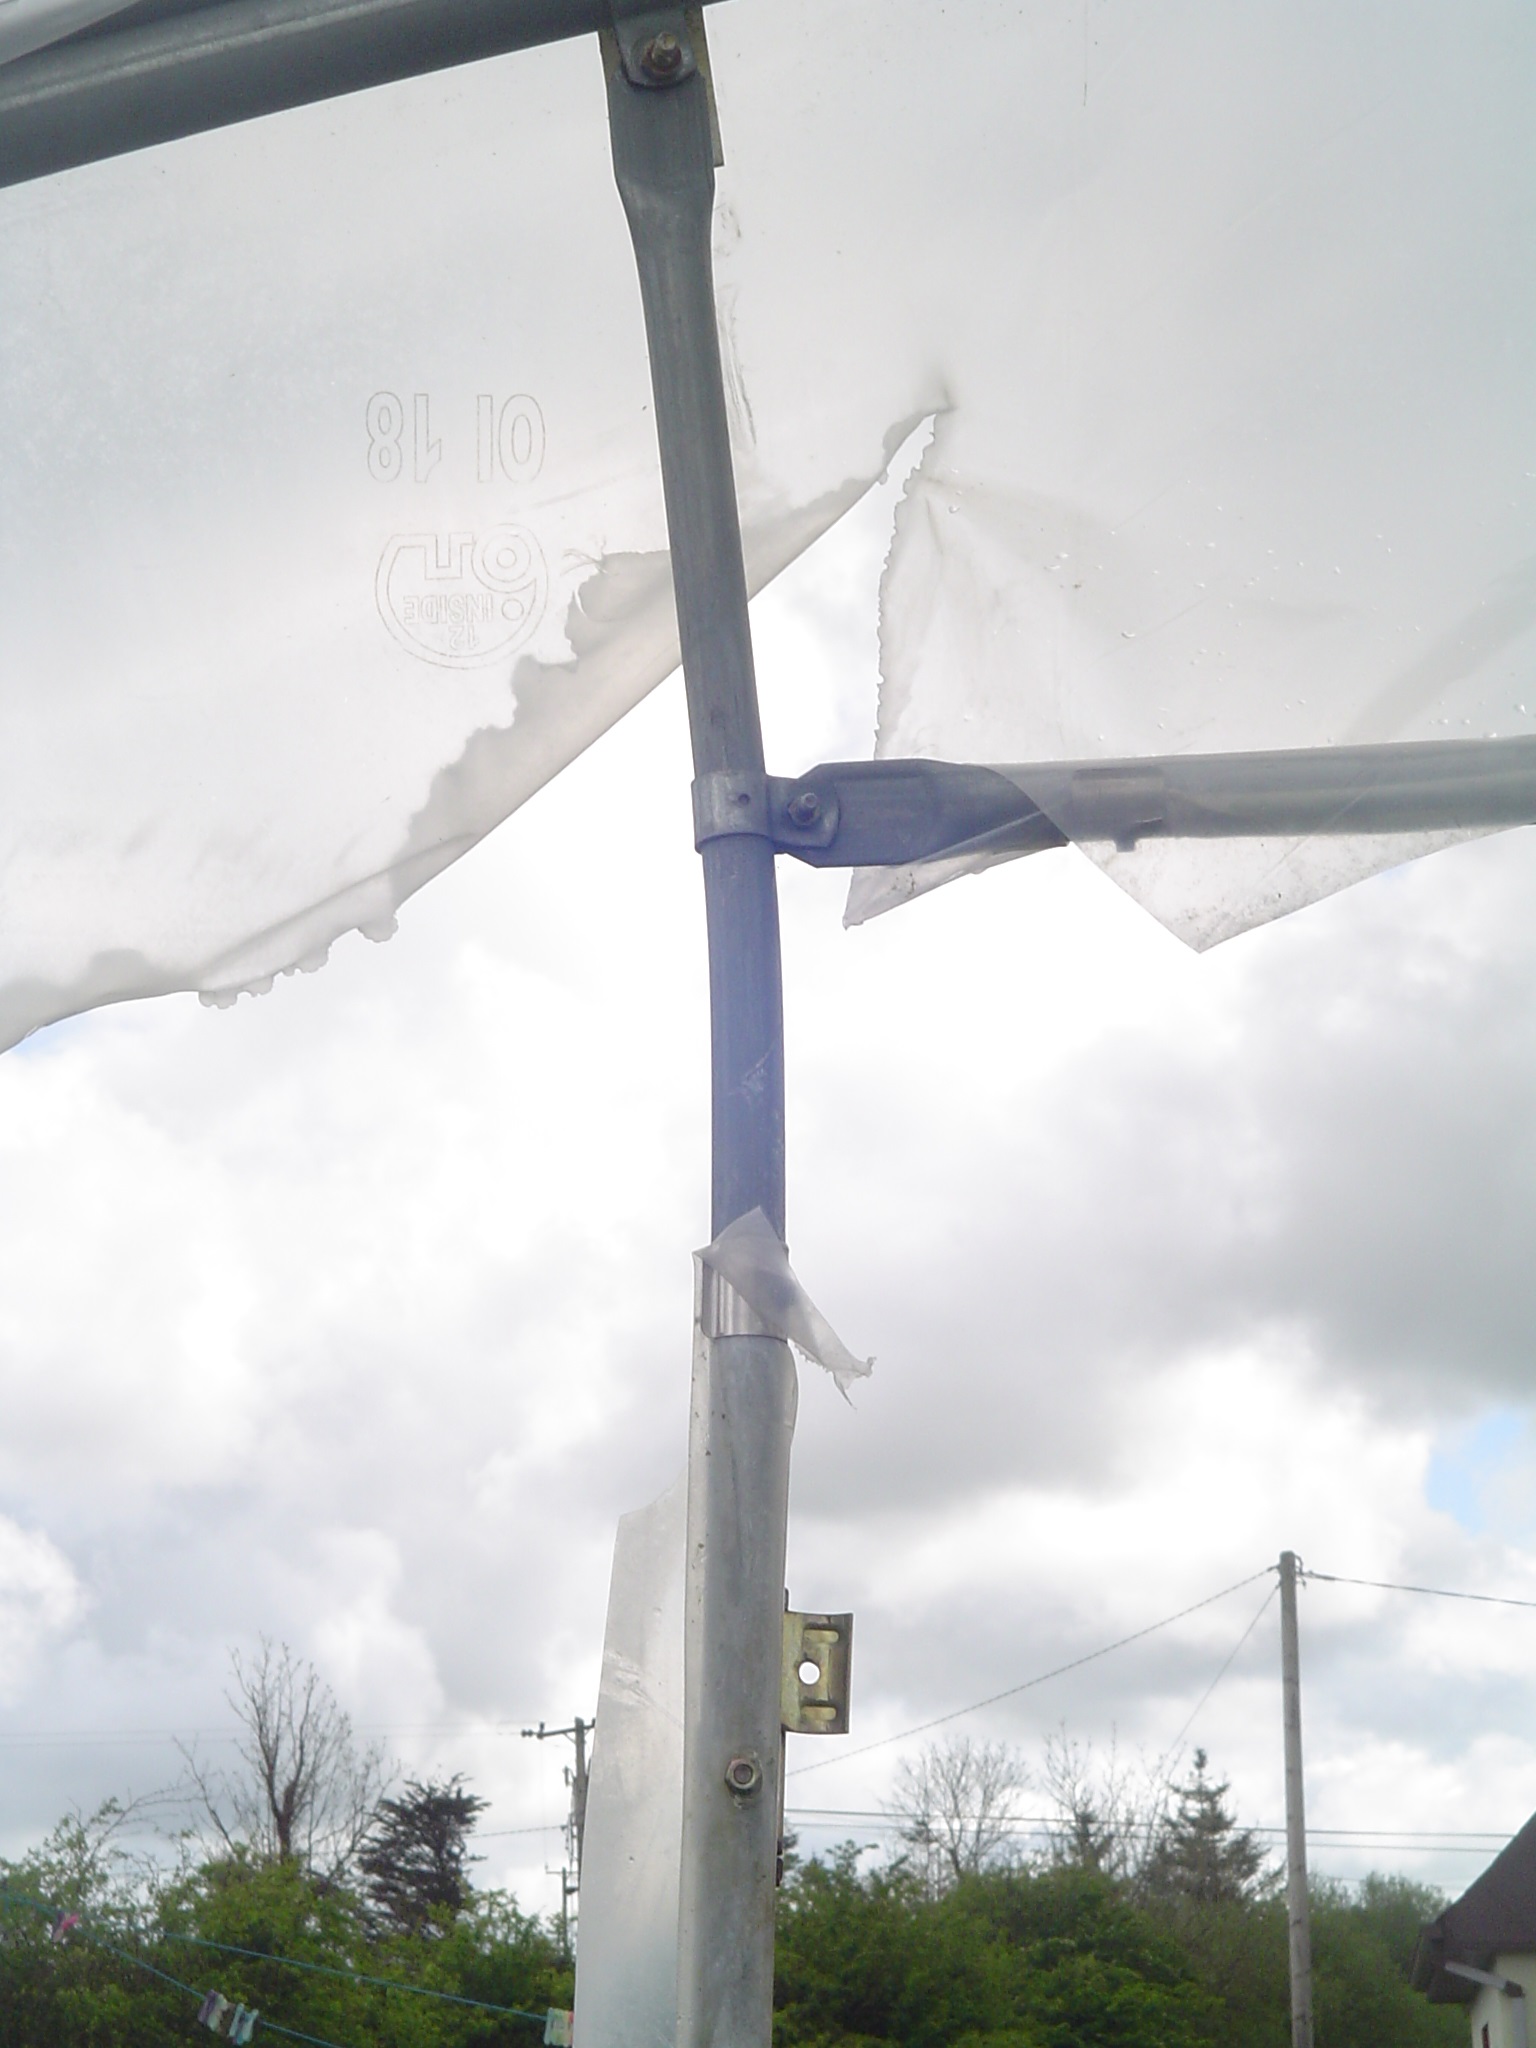
It is also at this time of year that having a well-built polytunnel really pays off. There is nothing as discouraging as seeing all your young plants destroyed due to a damaged structure after a windy night.

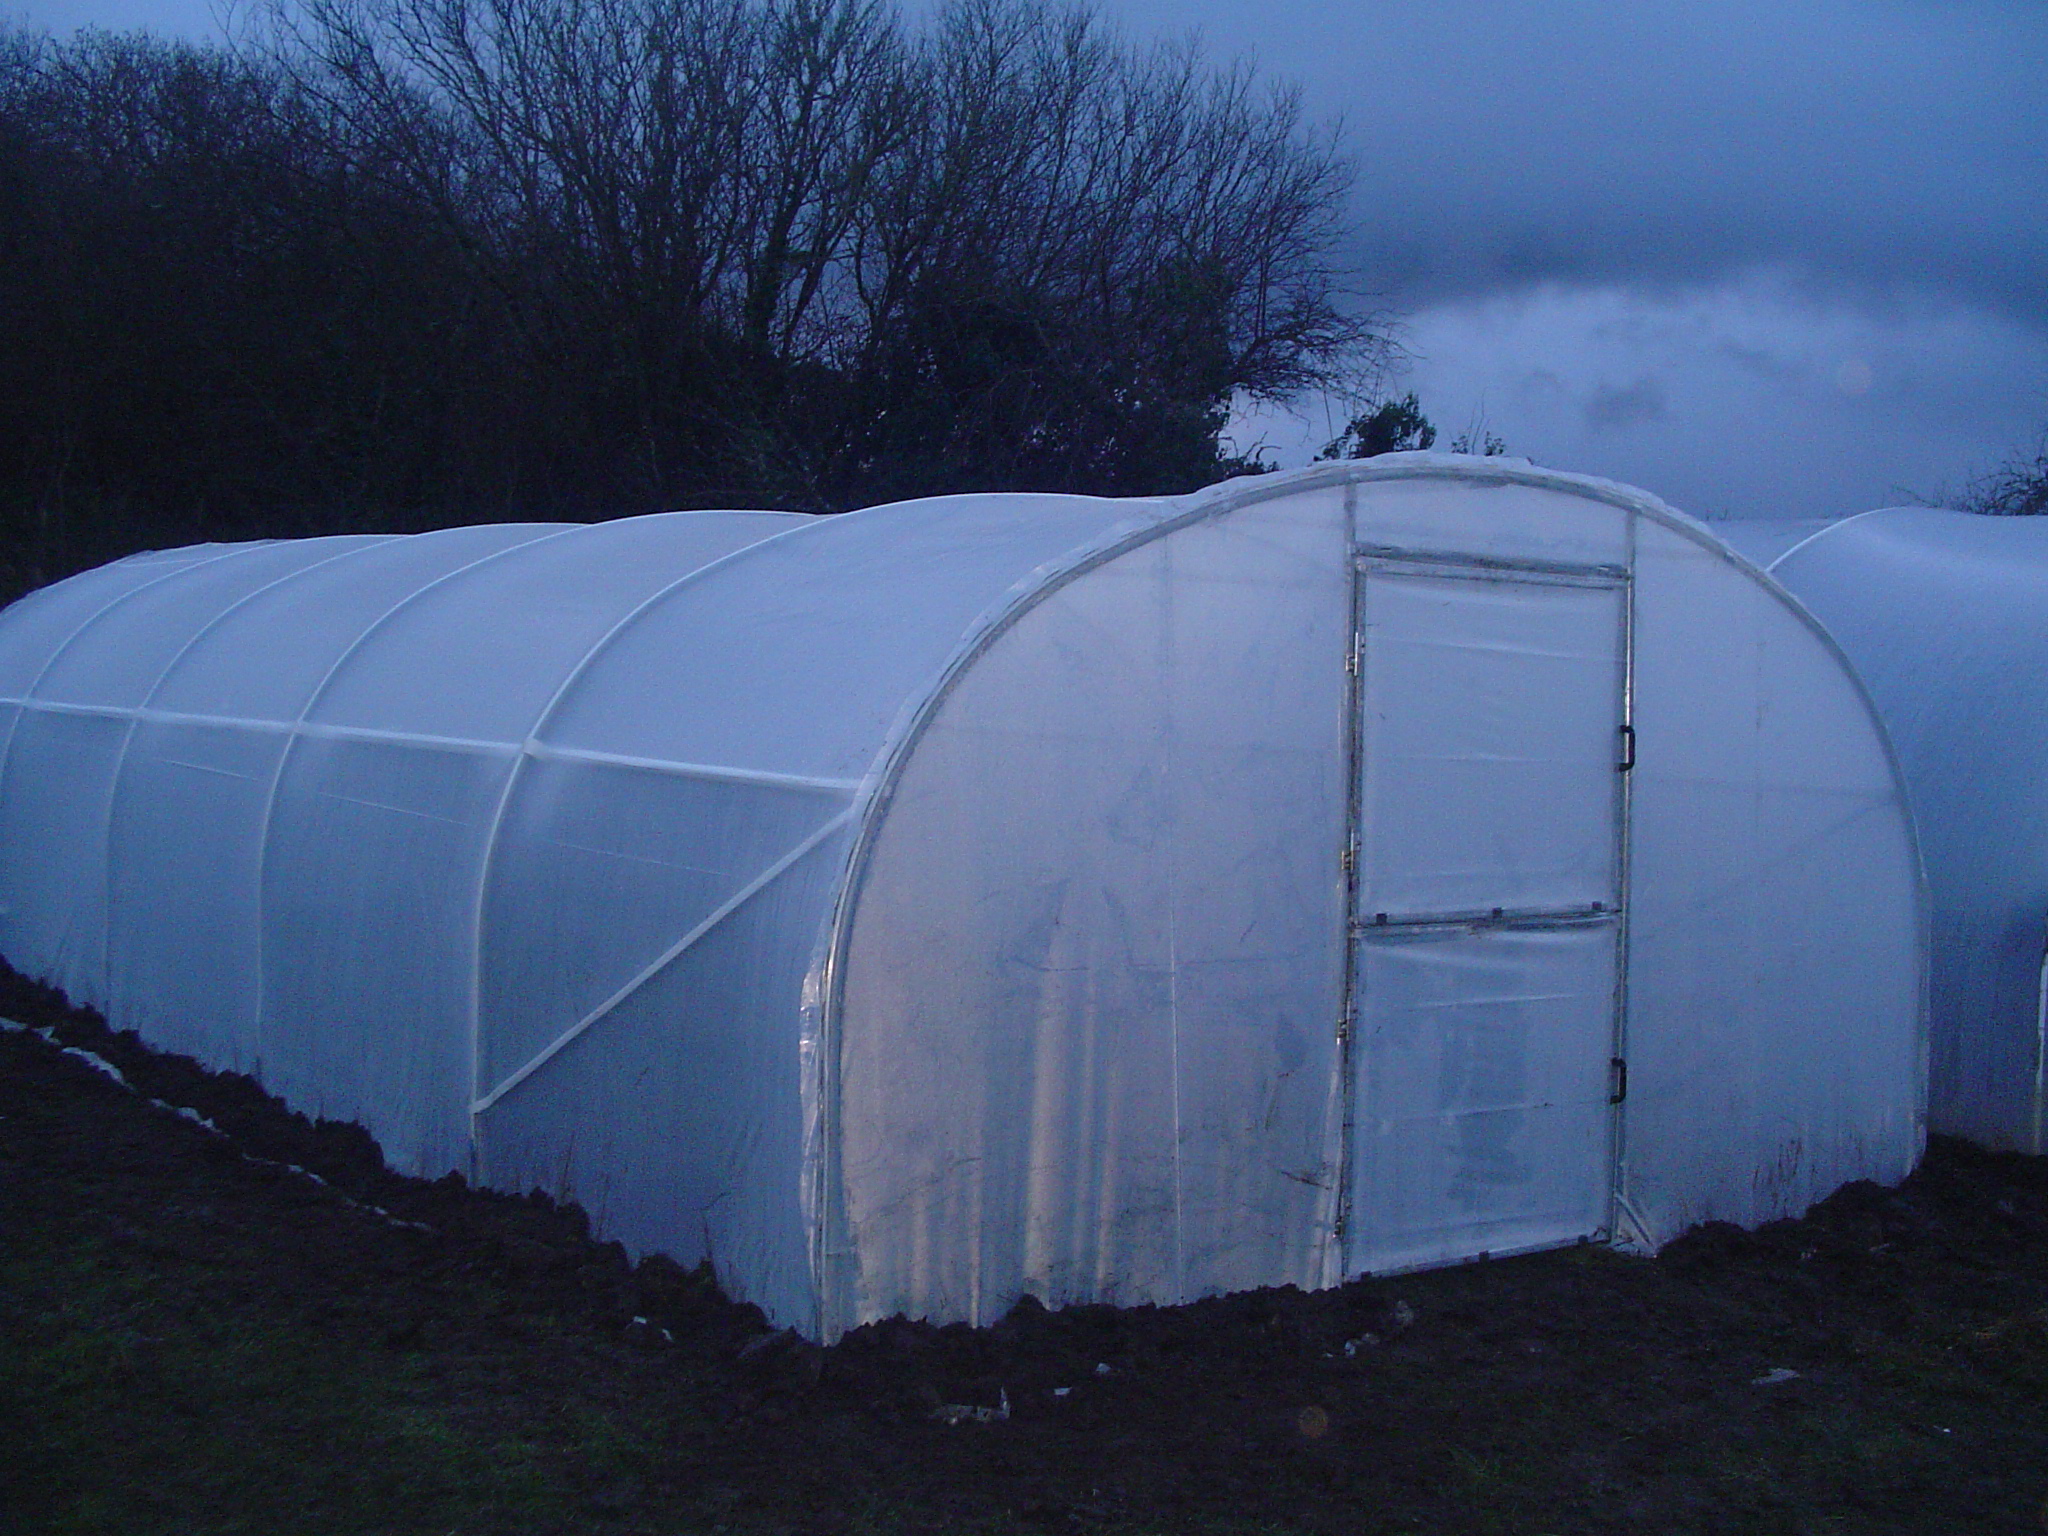
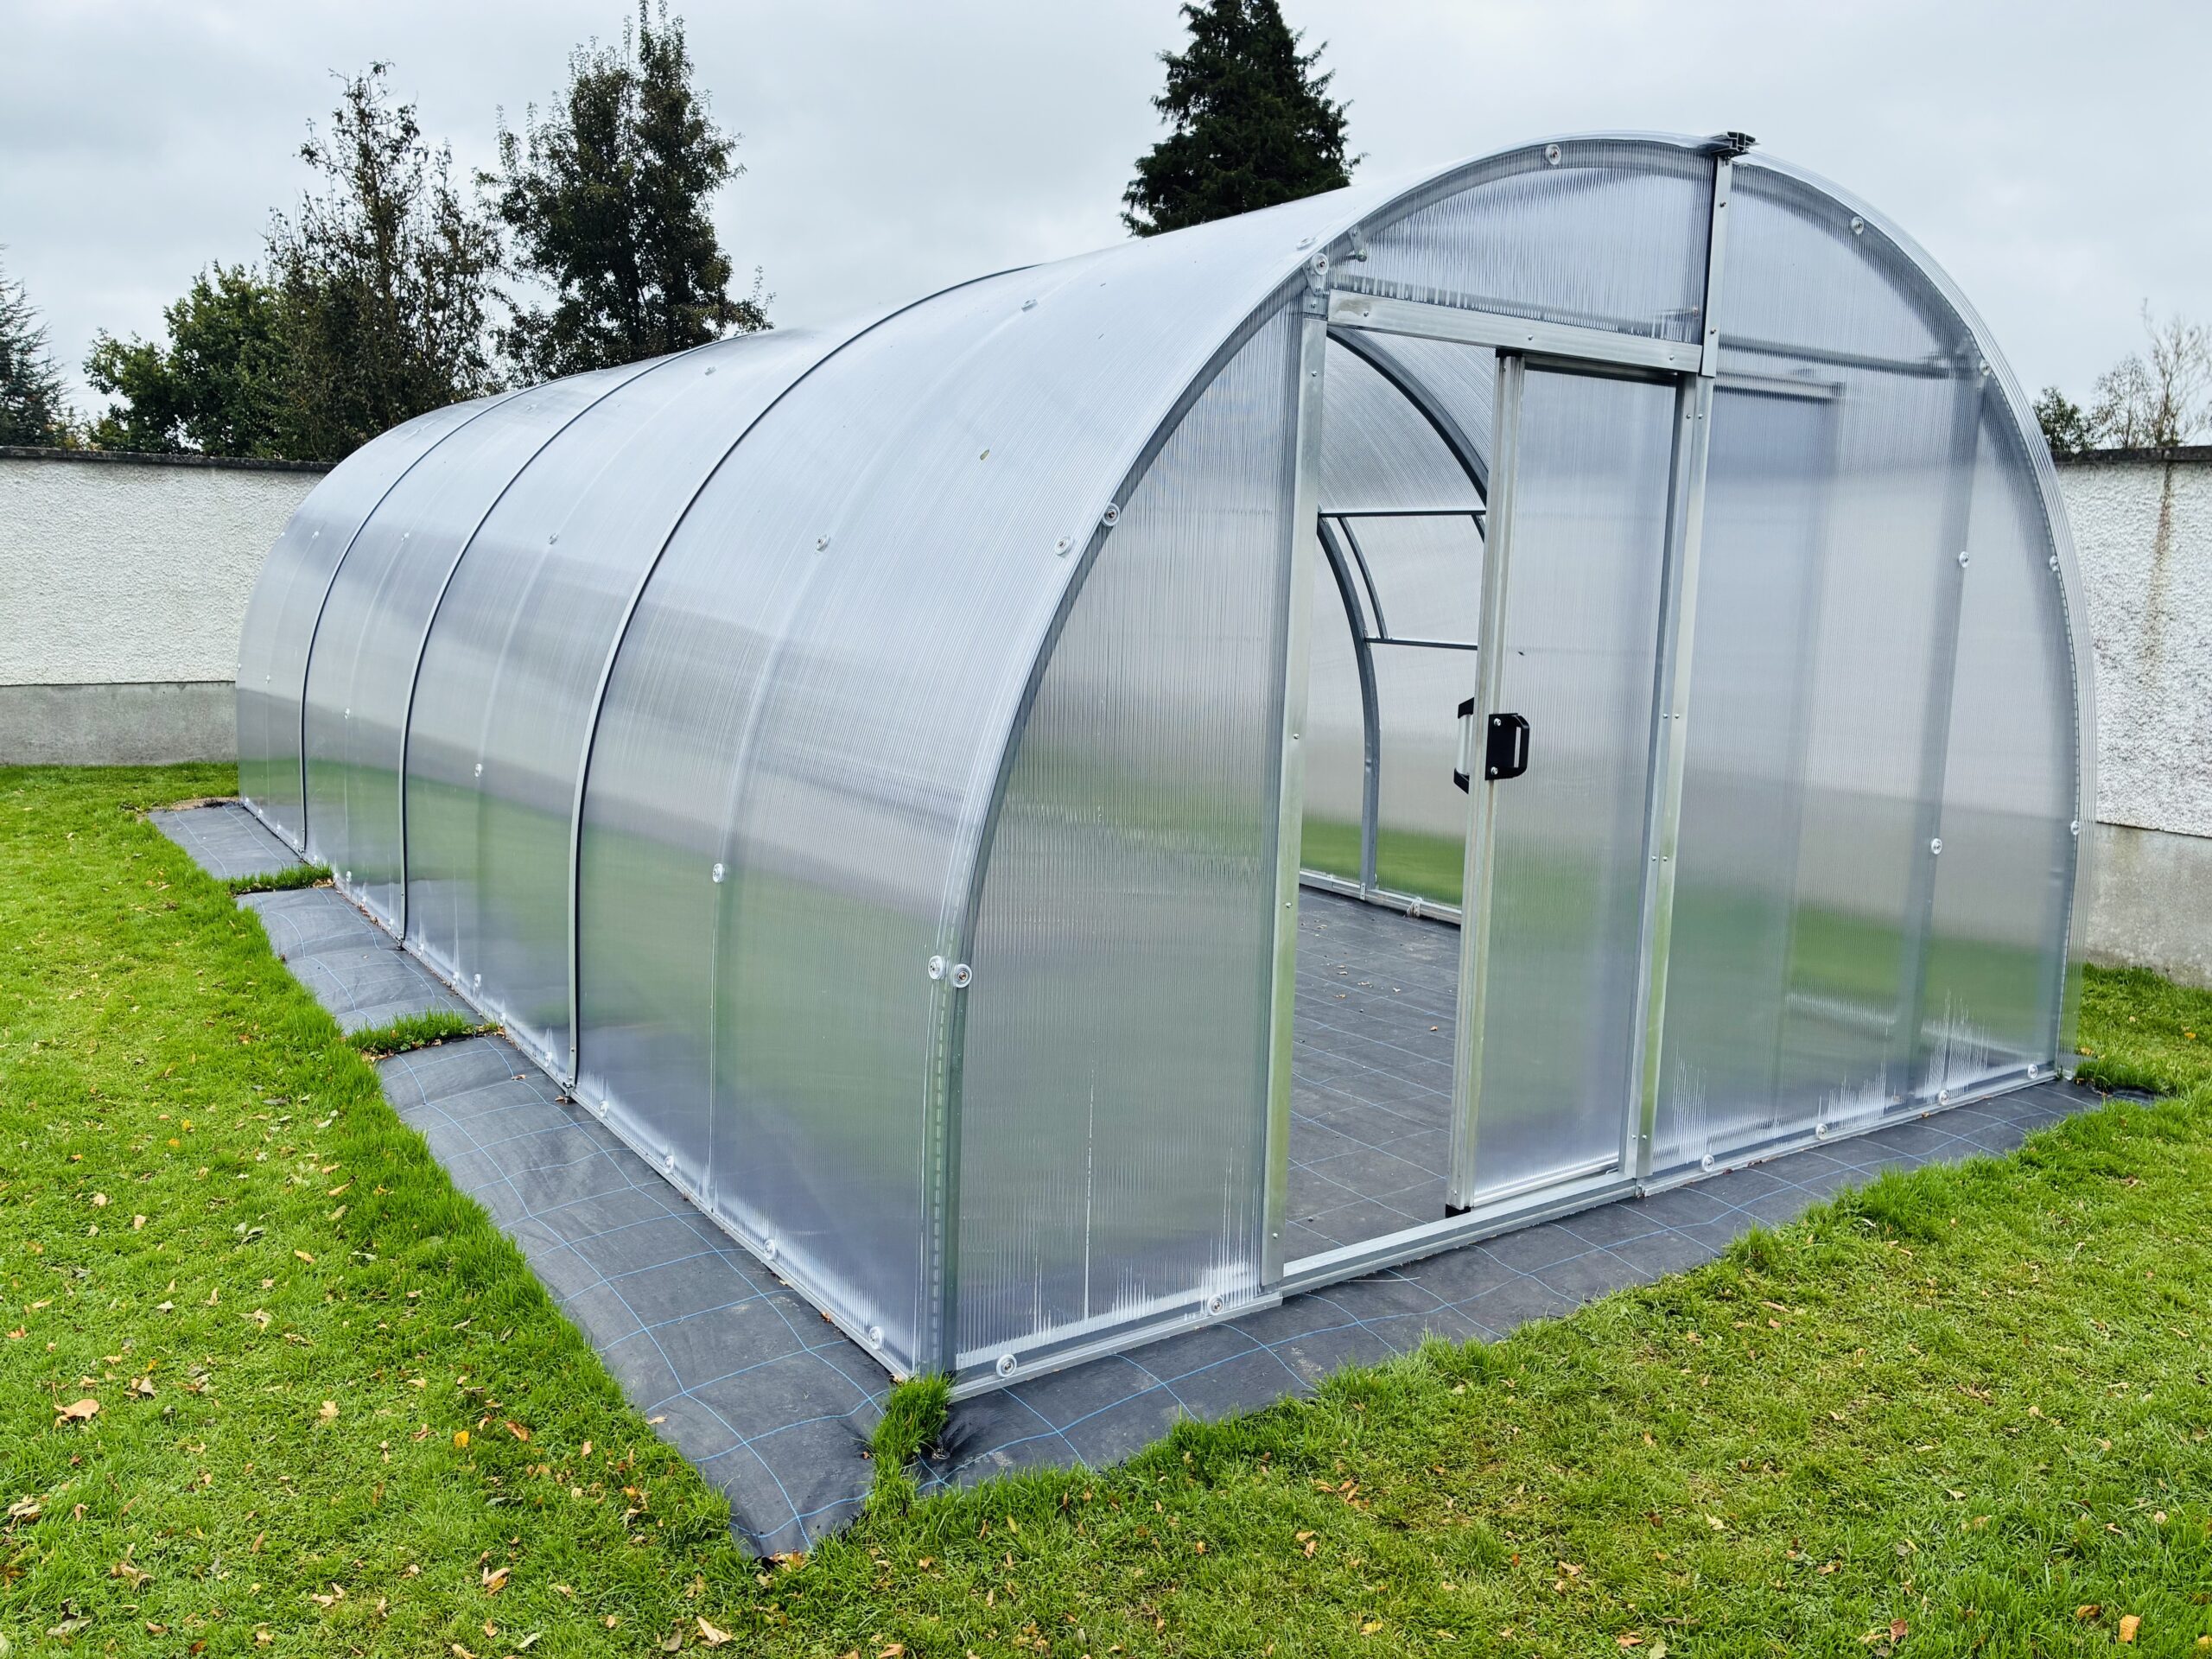
Polydome polytunnels are built to last and withstand the unpredictable Irish weather to give you peace of mind.

So enjoy the season and being one step ahead of the elements!

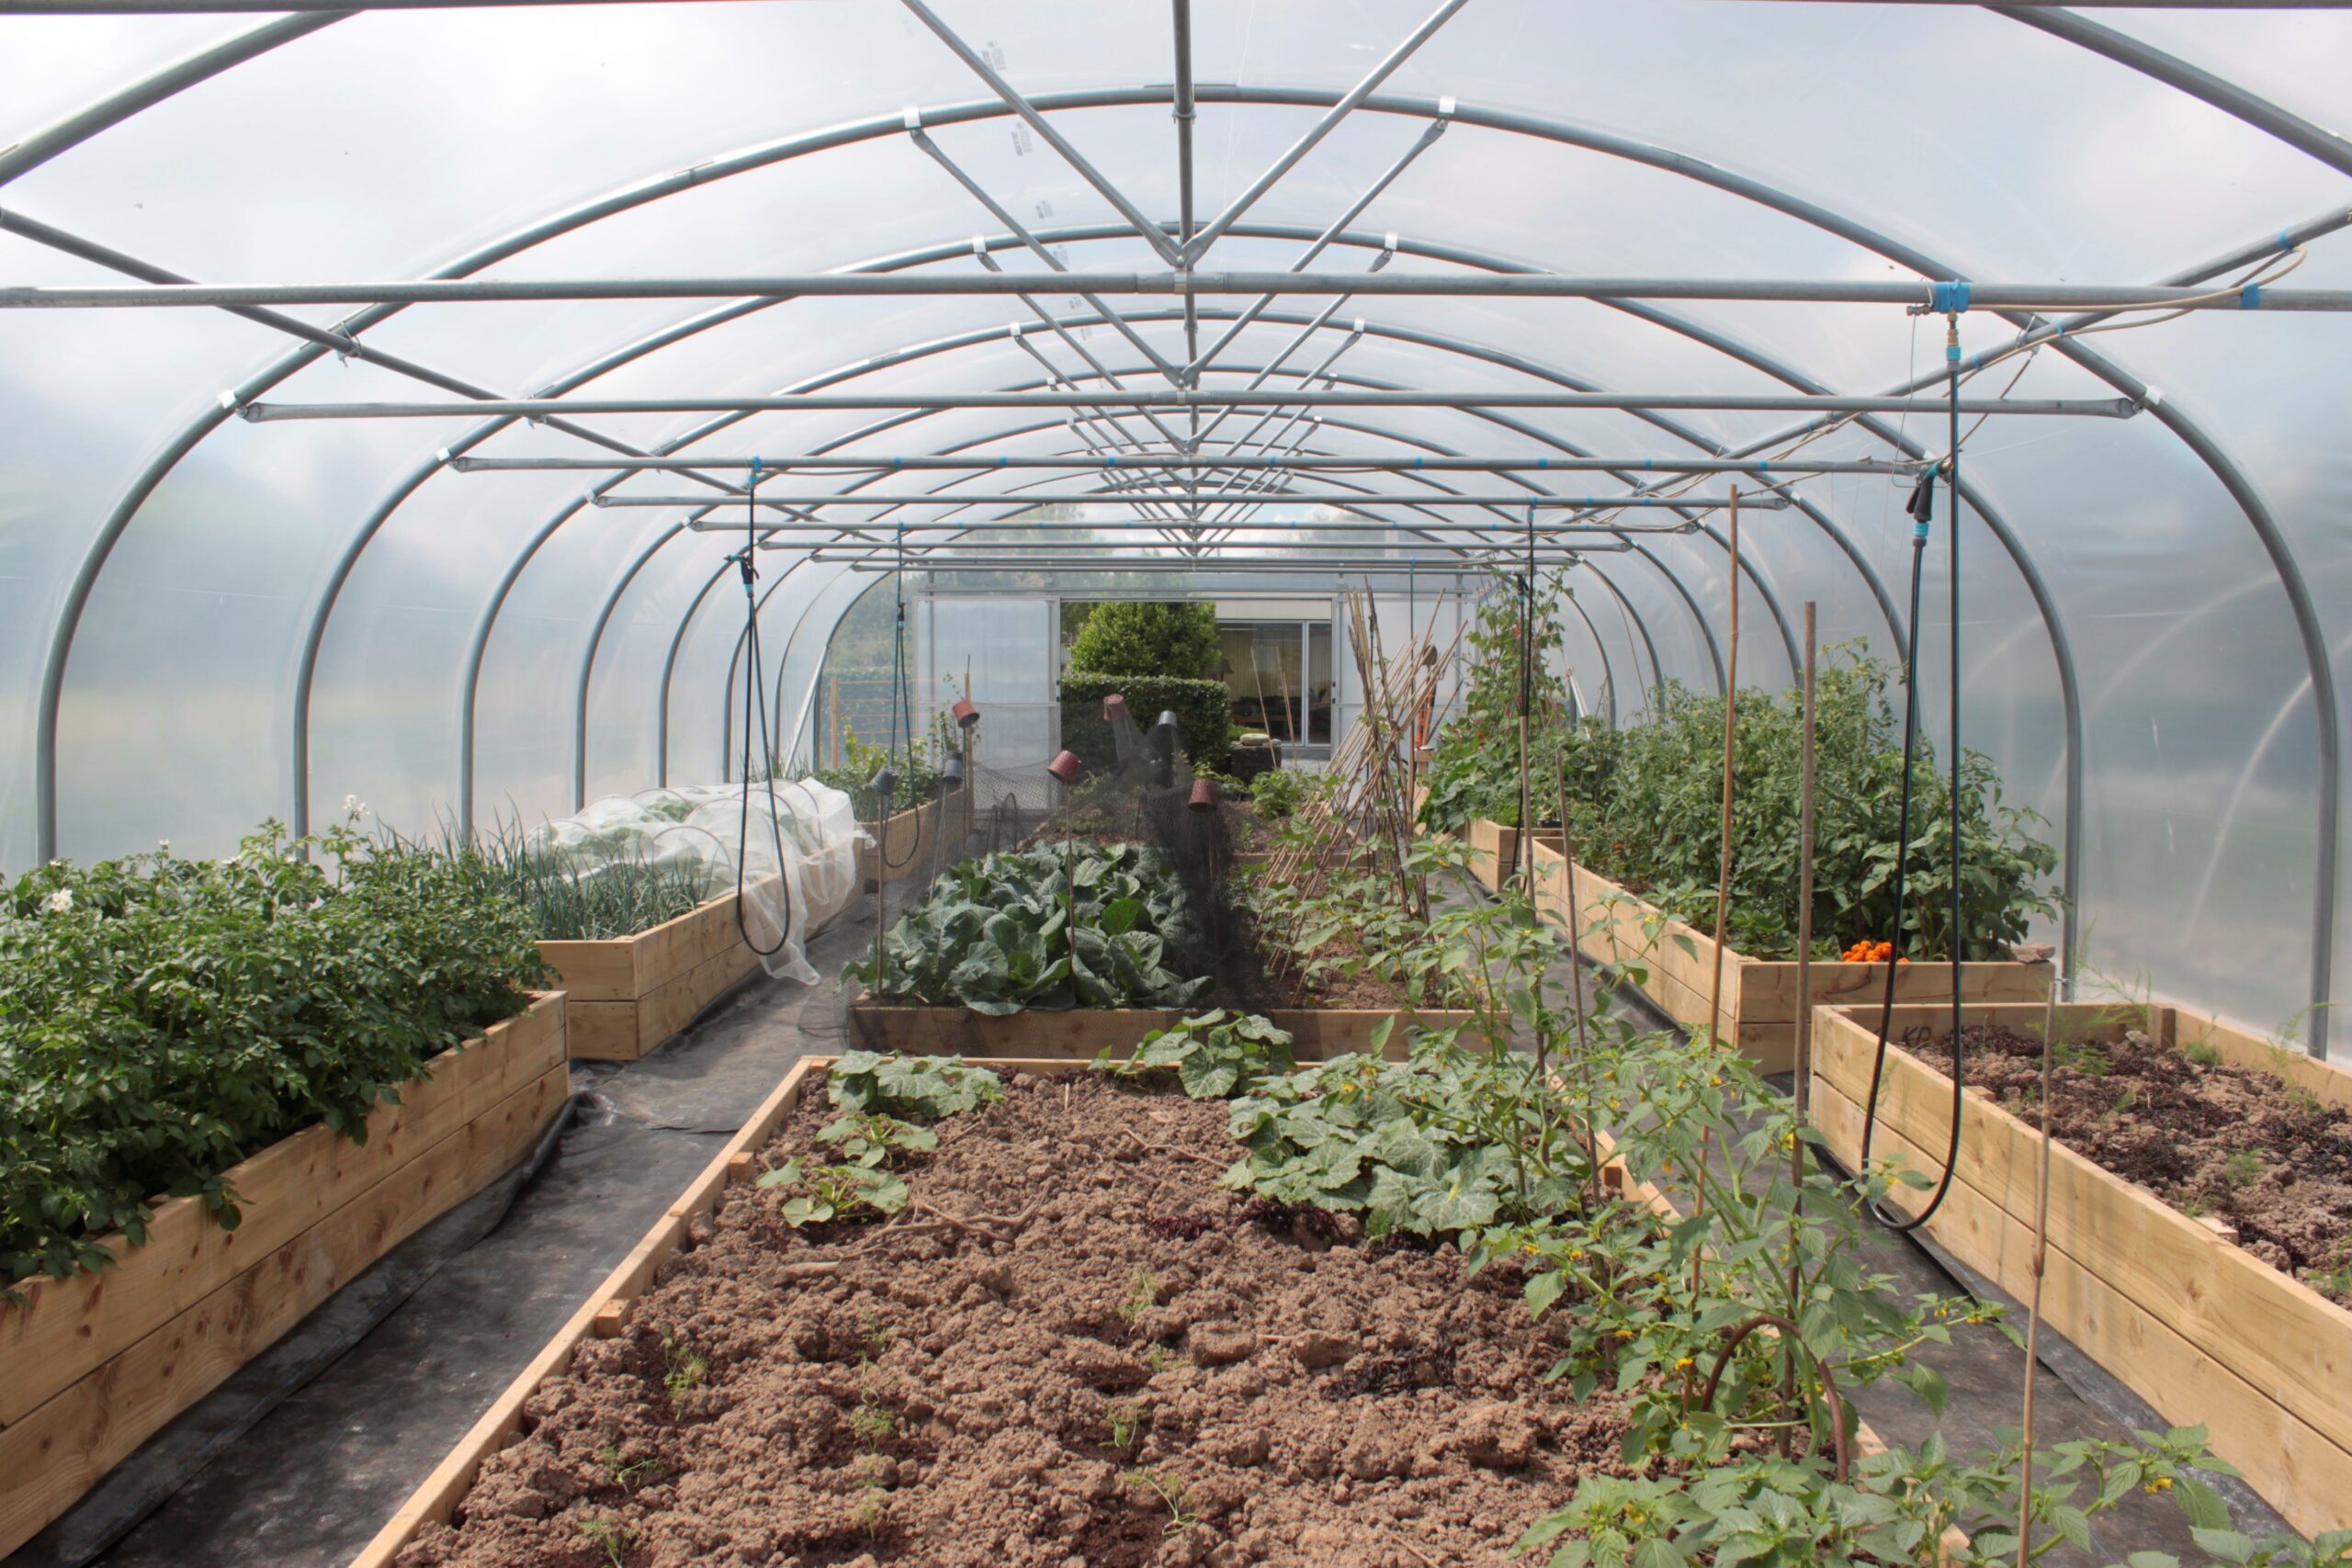
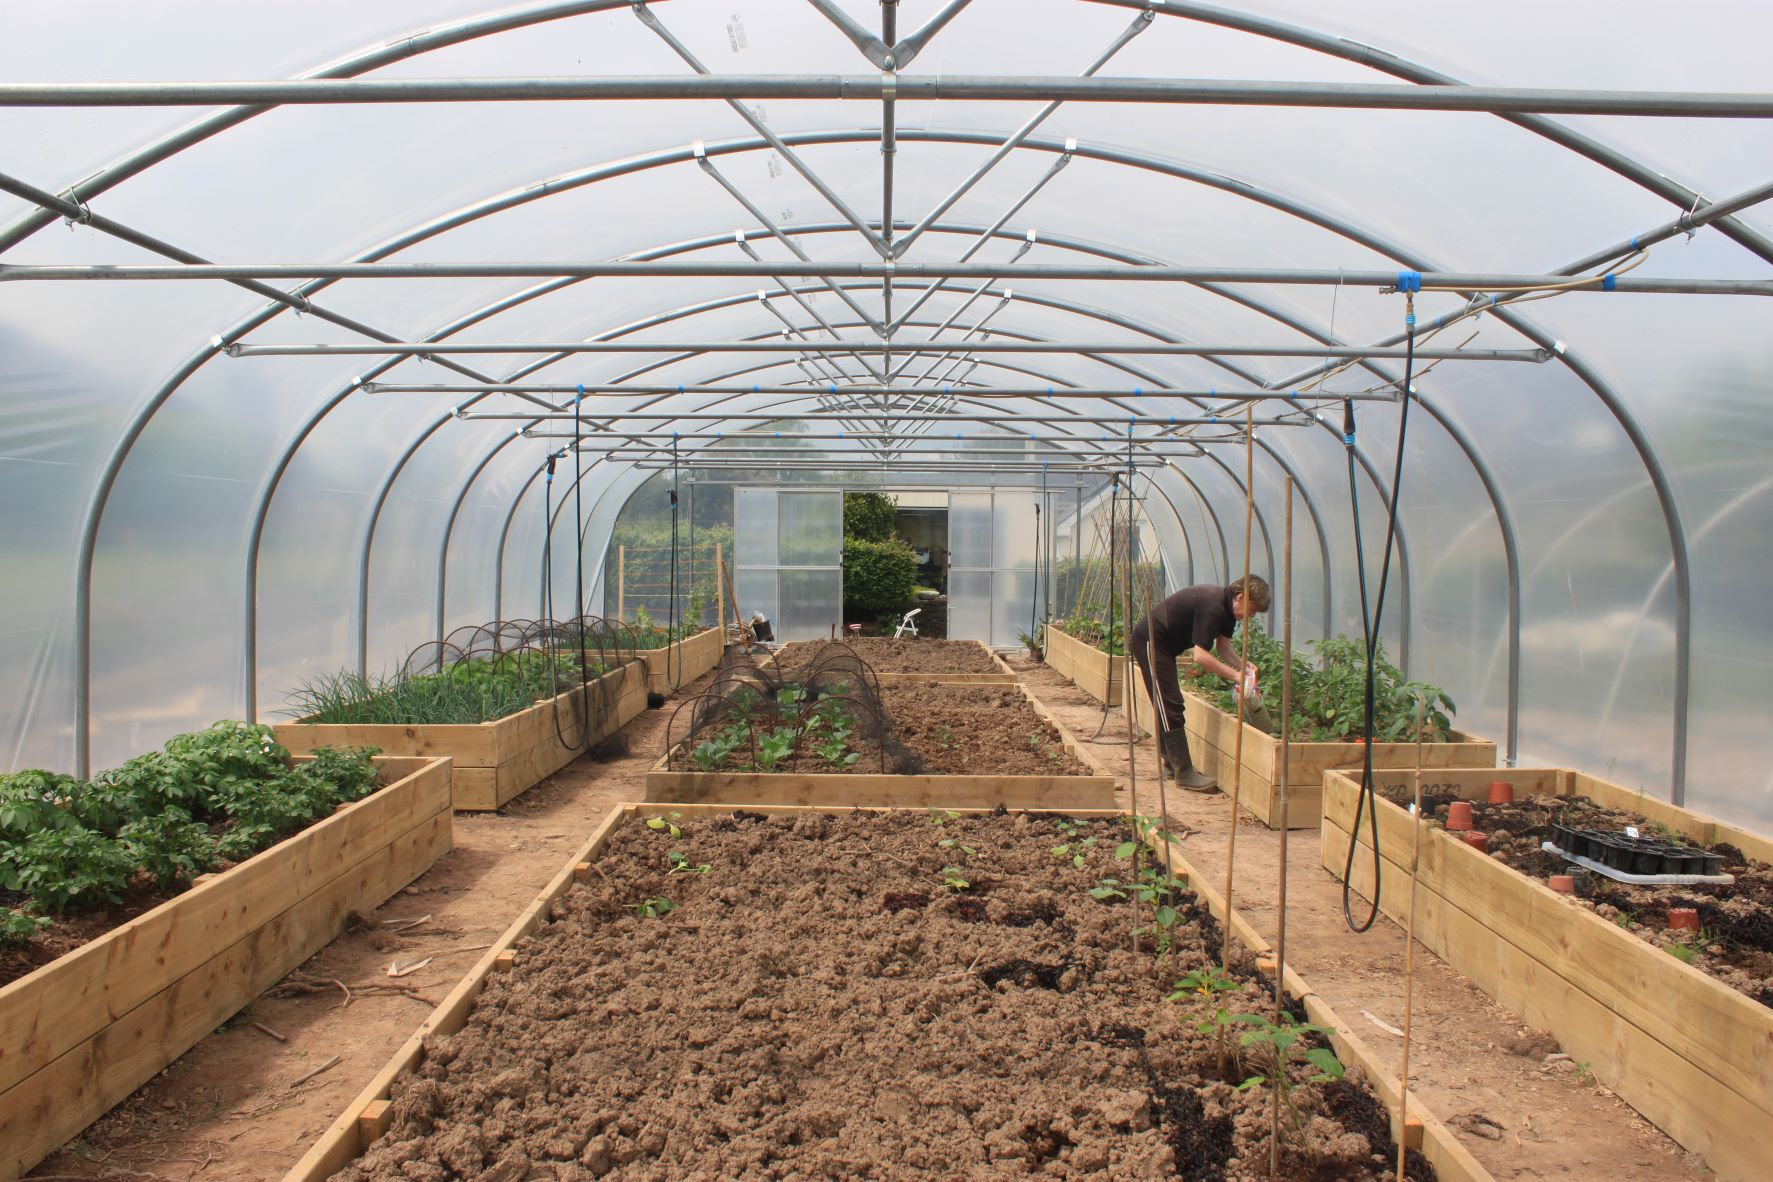
This photo of a beautifully laid out tunnel interior was sent to us by Rosie Green from Dingle. Thank you, Rosie!

Cleaning your Polytunnel

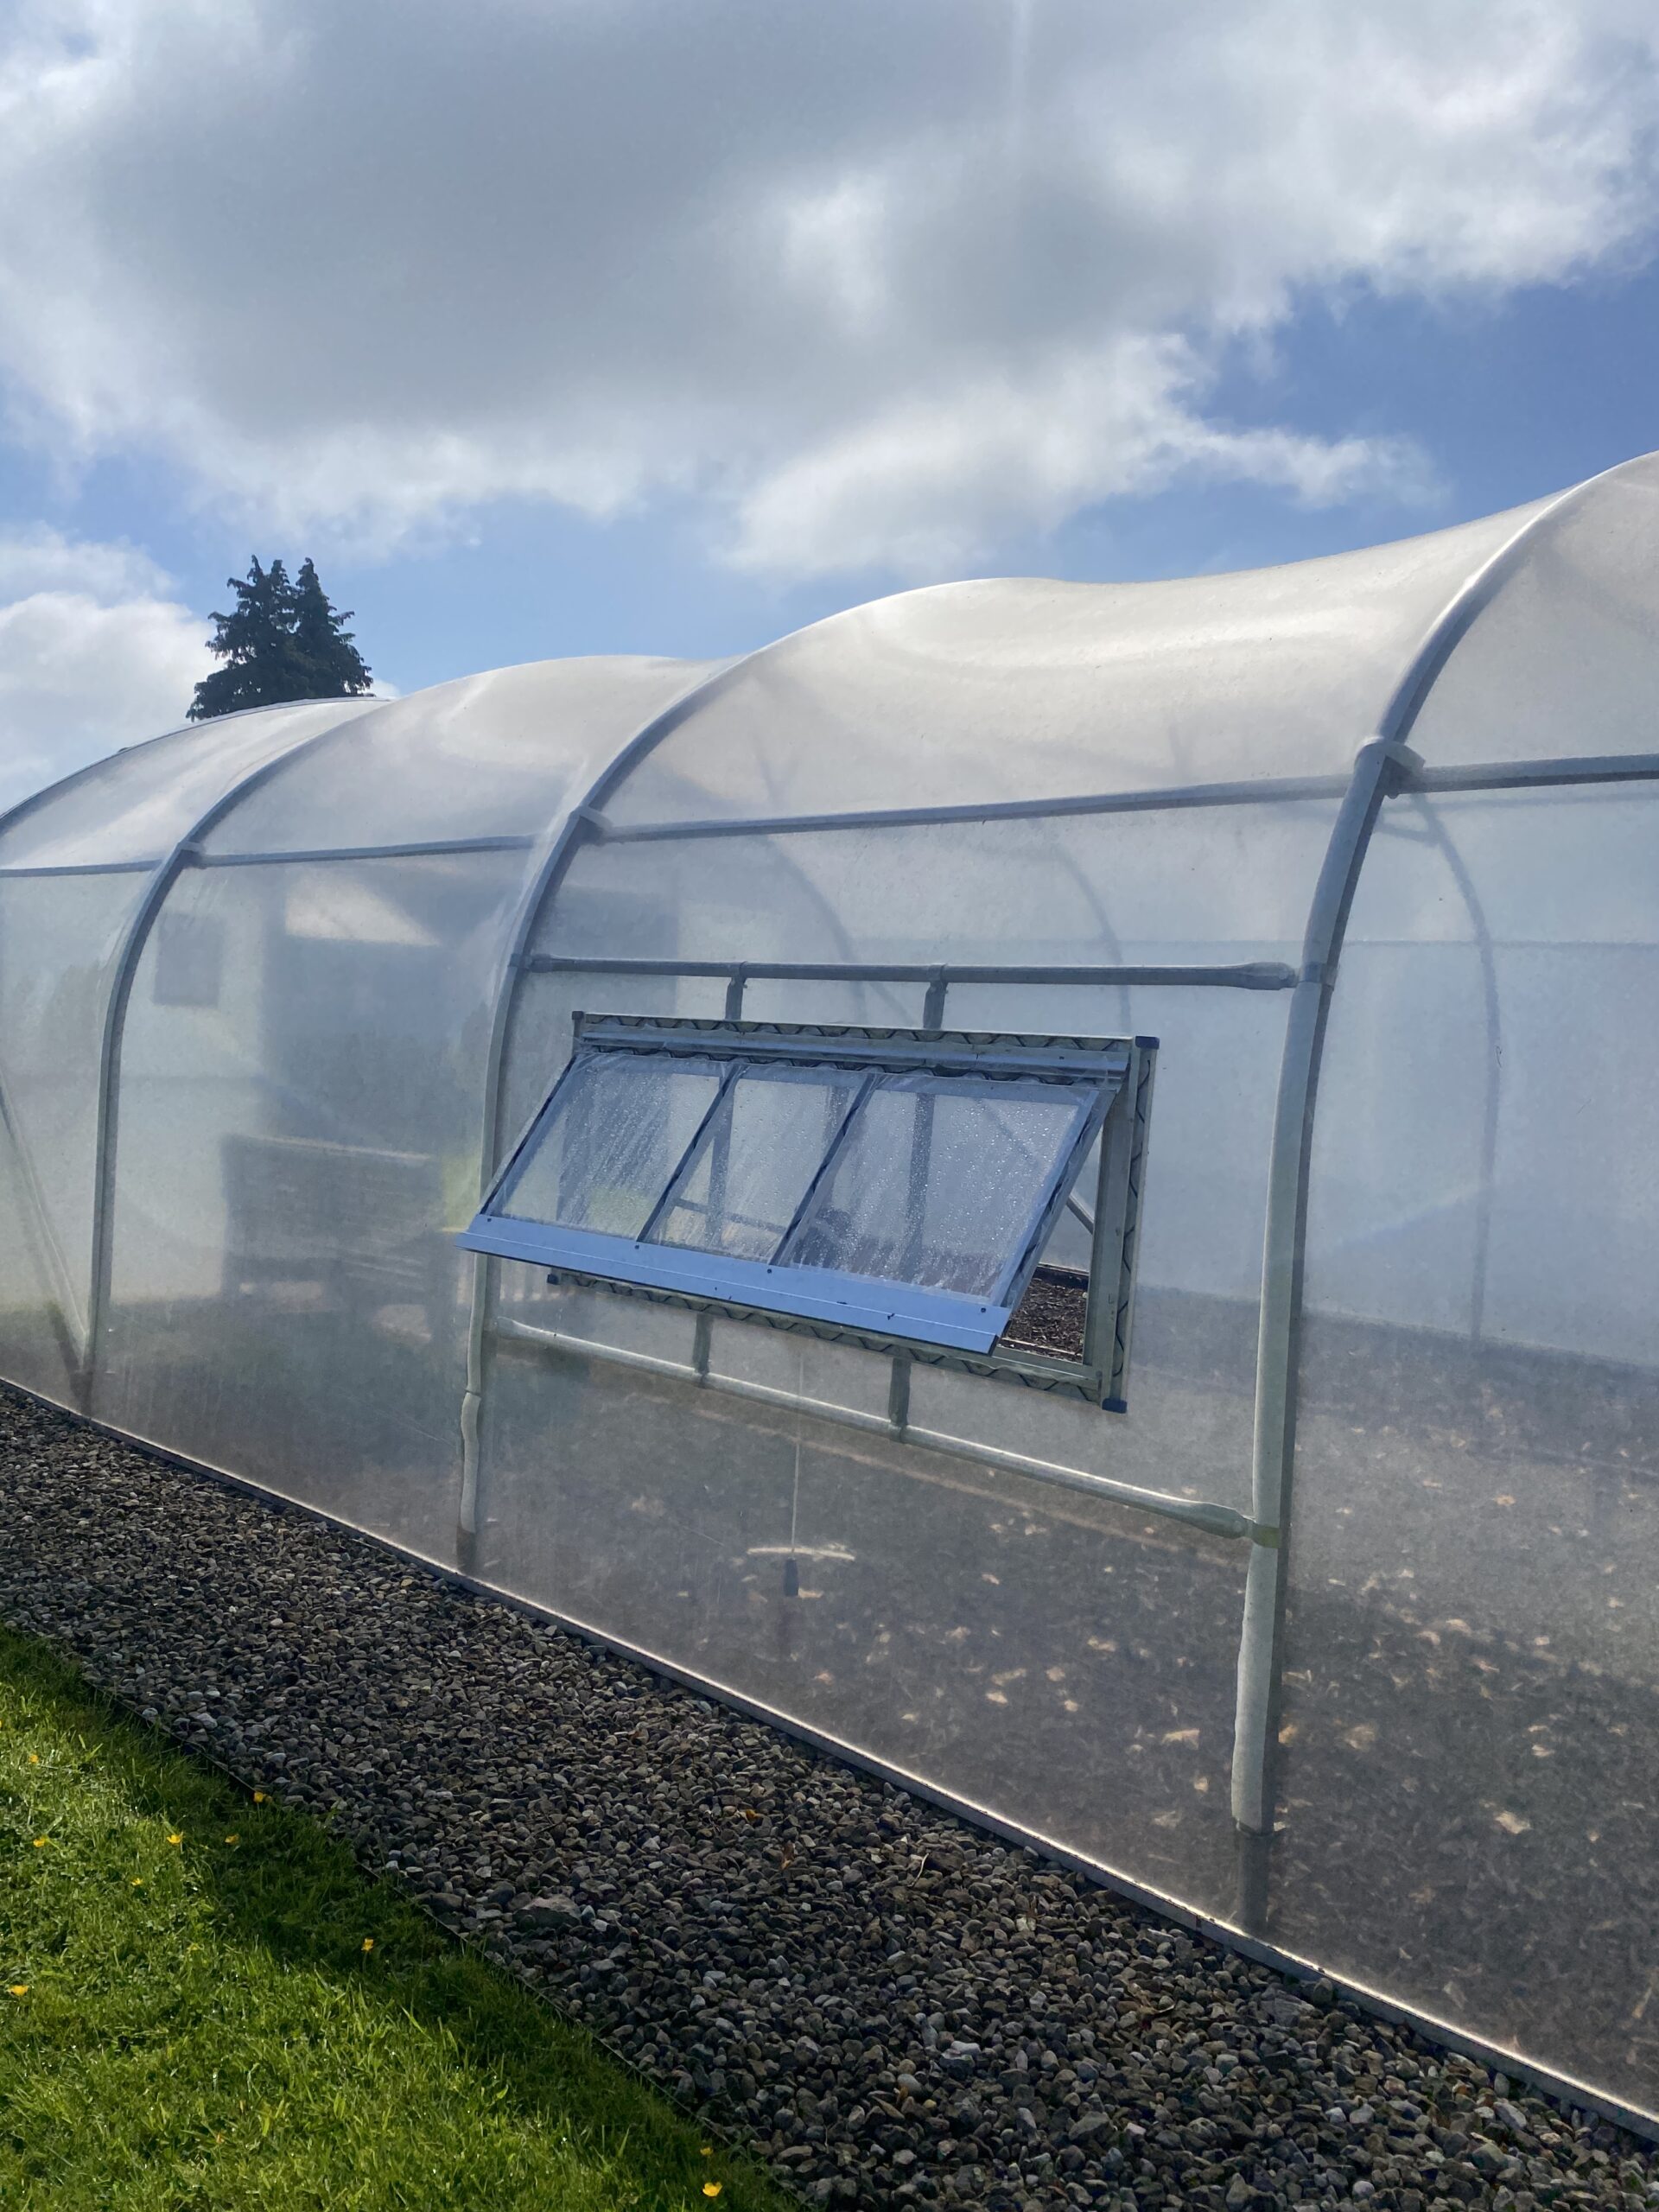
Polytunnel’s should be cleaned at least once a year, maybe more if your Polytunnel is nearer trees as it will probably have algae forming on the outside and debris from the trees falling onto it.  There are different ways in which to clean your tunnel.  Here are a few helpful tips :-

If you get a bucket of warm water and add a small drop of washing up liquid, you will then be able to use a soft brush to clean the tunnel, for the bits you cannot reach get an old bed sheet and with a person each side of the tunnel gently go along the tunnel.  Be careful not to do anything that will scratch the cover as this will reduce the light transparency.

Crop Protection Fleece

Hello All,

Sorry for the delay since my last blog. Thankfully January has been a busy month and has kept us on our toes.

Finally the weather has improved and the snow is all gone. However despite the milder days, night time temperatures can still be a little low. For anyone getting crops into the ground, it may be worth giving them a little protection from the colder nights. One solution to this problem is crop protection fleece.

What is crop protection fleece you may ask? Crop protection fleece has been developed to create a microclimate ideal for plants and seedlings that will help protect early crops and other delicate plants from cold weather, frost, and insect pests.

Available in rolls of various widths, fleece is laid out across the sown seedbed or young growing plants. It admits light, air and rain but creates a contained climate around the developing plants, allowing them to grow faster than unprotected crops.

For tall plants grown in rows or blocks, heavy-duty fleece can be used to create cloches. The fleece is normally fastened onto steel hoops erected over the crop and buried in trench to secure the fleece in place. When used as winter protection the fleece is wrapped around, or fastened over, delicate plants, to protect them from frost and scorching by cold winds.

You can purchase fleece as most garden centres, and even some hardware stores. You will also find a its on the polydome website.

The main benefits of fleece:

  1. Extending the growing season for vegetables by allowing earlier sowings in spring and later cropping in autumn.
  2. Protecting winter crops.
  3. Protection from pests such as pigeons, rabbits, carrot fly etc.

Crop Protection Fleece